How to create new event in EventMozo?
Create an event to sell tickets using EventMozo.
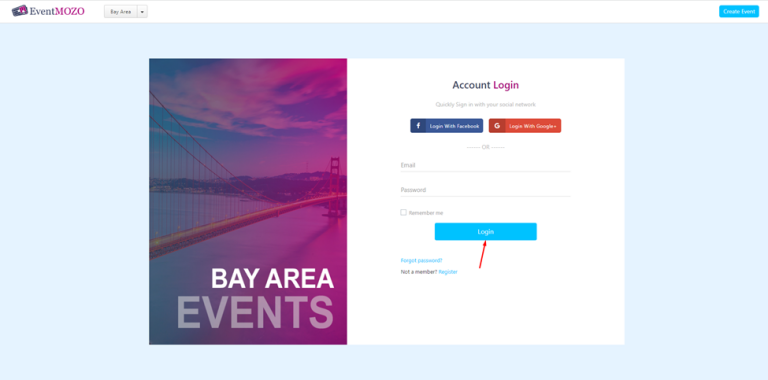
Step 1: - Open this URL https://eventmozo.com/
Step 2: - Click on the CREATE BUTTON on the header and then the Page will be redirected to the login page, enter your email id and password after that click on the login button.
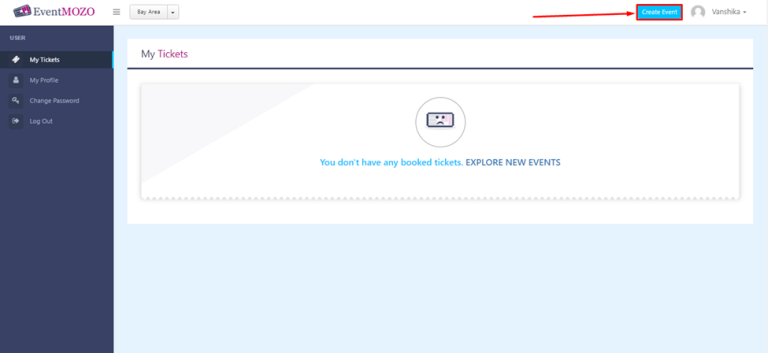
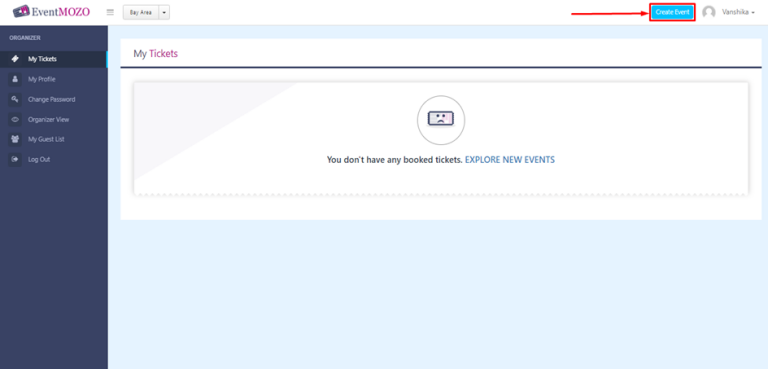
Step 3: - Click on the “Create Event”
*if you are new to EventMozo then follow User Guide for New Organizer Onboarding Process document.
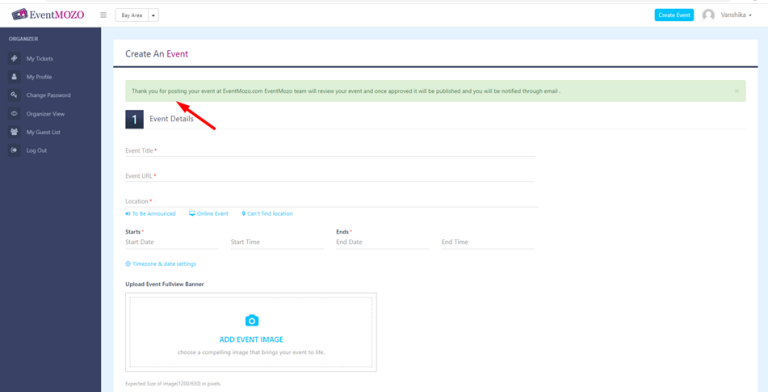
Step 4: - After login click on the “Create Event” button as shown in the below screen.
Step 5: - Create Event form will open, fill in all required fields after that click on submit button.
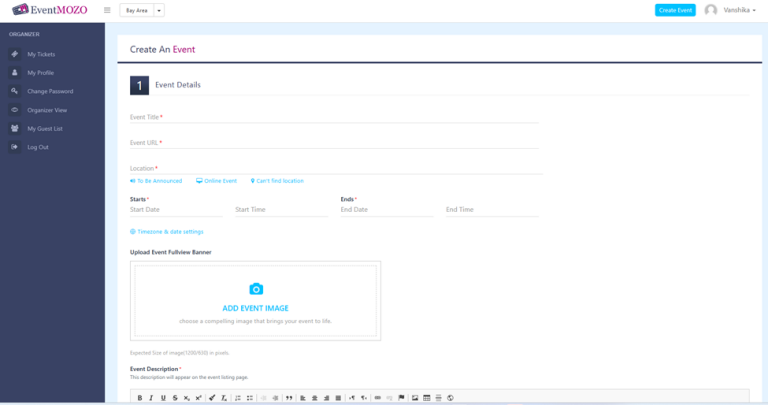
Go to "Event Details" and fill in the following:
Event title - Give your event a clear title.
Location - Choose “location” if your location is in-person, or “Online event” if your location is virtual. Select "To be announced" if you aren't sure of your location yet.
Date & Time - Enter your event’s start and end date and time. If you have an event that occurs across multiple dates, please contact [email protected]
Event Image - Add your event image
Event Description - Tell us about the event, that describes the most important details of your event.
Event Category - Choose an event category, multiselection is allowed.
Event Organizer - The person or organization hosting the event. If your organizer isn't listed, create a new profile for them.
Contact Person Info - The person which is users can contact for any query for the event.
Event Tickets - Choose from FREE, PAID, and DONATION tickets type, then
Give your ticket a name, like “General Admission”.
Add the quantity of tickets you have available.
Set the price (if it’s a paid ticket type).
Click “Advanced settings” to:
Add a ticket description - Let attendees know what’s included with their ticket.
Select the dates you want your tickets to be on sale.
Select the dates you want your tickets to be valid.
Limit the number of tickets per order - Set a limit if you only want attendees to select a certain amount of that ticket type per order. Limits can't be set on Donation ticket types.
Change The Label - This is the button label that will be visible in the event full view
Listing Privacy - Set the privacy to either PUBLIC or PRIVATE
Note For Attendees/Events - Share any type of Notes for attendees.
Submit - Click on submit button to create your event
Step 6: - Thank you message comes as soon as you click on submit button.
Event went for the reviewal process to the EventMozo team
*if you want to see the event full view then follow these steps
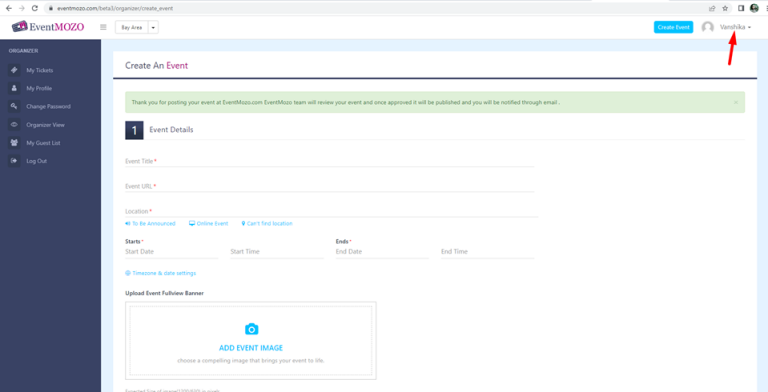
Step 7: - Now click on this drop-down.
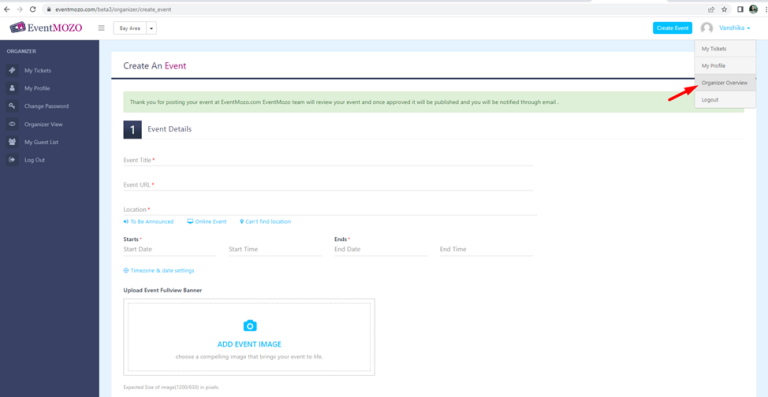
Step 8: - Click on Organizer View.
Step 9: - Click on the organizer name.
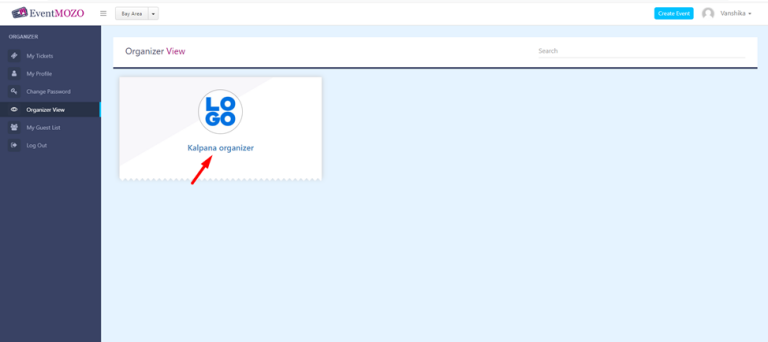
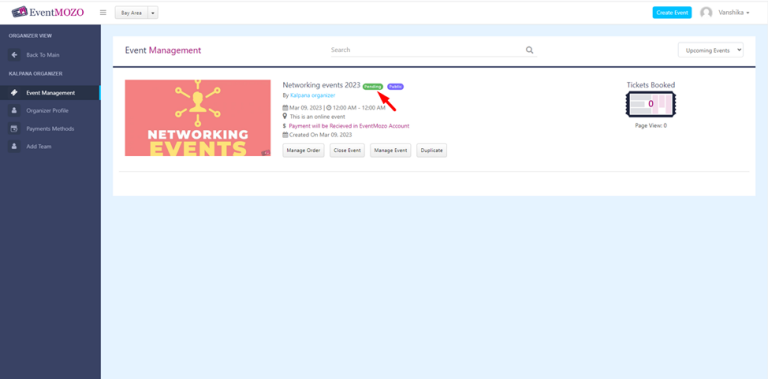
Step 10: - You can see your event but it is in pending mode until an admin approves it, But if you want to see the event full view, then click on the name of the event.
.